
Propagation
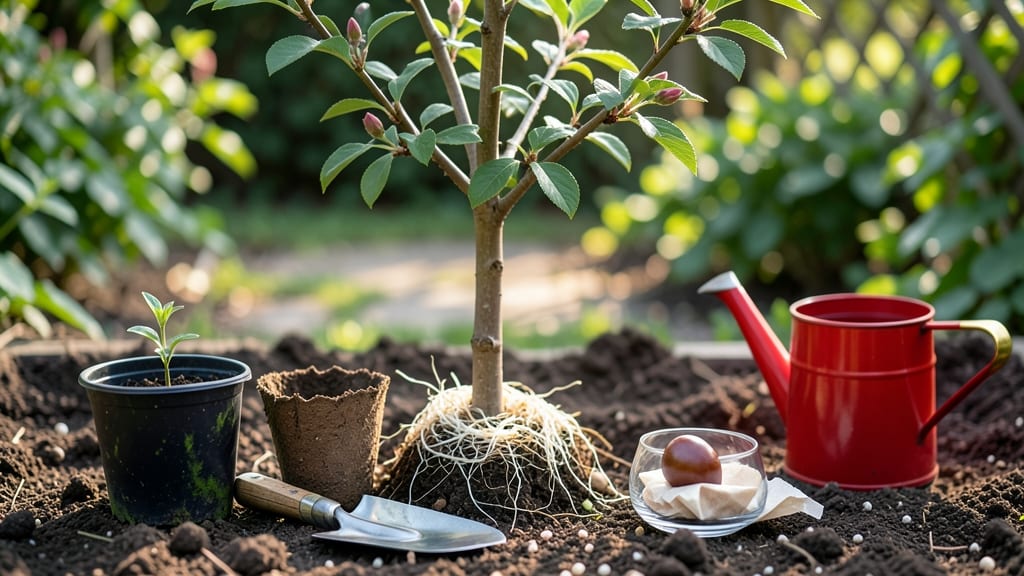
Growing a Japanese plum tree from seed is a three-year gamble that pays off with fragrant purple blooms—if you're willing to embrace the slow magic of nature. 🌸 The seeds from your favorite Prunus salicina won’t produce a tree identical to the parent, but with the right care, you’ll nurture a sturdy young tree that might just surprise you with its own unique beauty.
The real reward? Watching those first blossoms unfurl after years of patience.
Start with fresh seeds from ripe plums—stratify them in damp sand for 60-90 days in the fridge to break dormancy, then plant them shallowly in well-draining soil. Germination can take 4-12 weeks, and seedlings grow slowly at first, needing bright light and consistent moisture.
Most gardeners give up here, but that’s when the real work—and the real joy—begins.
By year three, your seedling should be 2-3 feet tall, sturdy enough to transplant outdoors. Prune carefully to encourage a strong structure, and protect it from late frosts. The first blooms might not be showstopping, but each petal is a testament to your persistence.
The tree will take 5-7 years to bear fruit, but the blossoms? They’ll arrive sooner, painting your yard in soft purples.
Want a faster, more predictable tree? Grafting is the secret weapon—it guarantees the variety you love. But if you’re growing from seed, think of it as a slow-motion love letter to your garden.
Every step teaches you more about patience, and that’s a lesson no nursery-bought tree could ever give you.
📚 In This Guide
- What you need
- Instructions
- Tips and common mistakes
- Wrapping up and next steps
What you need
- ● Fresh Japanese plum seeds: 3–5 seeds (ensure they’re from a healthy, mature fruit—ripe but not overripe).
- ○ Small seed-starting pots or trays: 3–4 (3–4 inches deep) with drainage holes. Optional: Biodegradable peat pots for easy transplanting.
- ● High-quality seed-starting mix: 1 bag (sterilized, well-draining blend like 50% peat moss + 50% perlite).
- ● Plastic wrap or clear lid: To create a mini greenhouse effect.
- ● Spray bottle with water: For gentle hydration (avoid overwatering!).
- ● Grow lights or sunny windowsill: A south-facing window or LED grow lights (12–16 hrs/day) for seedlings.
- ● Fertilizer: A balanced, water-soluble fertilizer (e.g., 10-10-10) diluted to half-strength for seedlings.
- ● Pruning shears: Small, sharp pair for future trimming.
- ● pH test kit: To check soil acidity (ideal range: 6.0–7.0).
- ○ Heat mat (optional): For faster germination (70–80°F range).
- ● Humidity dome or plastic bag: To maintain moisture during germination.
- ● Labels & markers: To track seedling progress (trust us, it helps!).
Step-by-step instructions for growing a Japanese plum tree from seed
Here’s how to nurture a seed into a thriving tree with vibrant blossoms—just give it time and attention.
🌱 Step 1: Harvest and Prepare the Seed
Gather ripe Japanese plum fruit and remove the pit carefully. Rinse the seed to remove any fruit residue, then let it dry completely for 24 hours. This prevents mold and prepares it for stratification, a critical cold treatment that mimics winter and breaks dormancy.
Place the dried seed in a resealable plastic bag with a damp paper towel. Seal it tightly and refrigerate for 8-12 weeks at 35-40°F. Check the towel weekly—if it dries out, spritz lightly with water. This cold period tricks the seed into thinking winter has passed, signaling it’s time to sprout.
🌱 Step 2: Plant the Stratified Seed
After stratification, fill a small nursery pot (4-6 inches deep) with well-draining potting mix—avoid garden soil, which can harbor diseases. Plant the seed 1 inch deep, pressing the soil gently around it to ensure good contact. Water lightly until the soil feels evenly moist but not soggy.
Place the pot in a warm, bright location with indirect light (a south-facing window works well). Keep the soil consistently moist—not wet—by watering when the top inch feels dry. Germination can take 4-12 weeks, so patience is key. Cover the pot with a clear plastic bag to retain humidity, but remove it daily for 10 minutes to prevent mold.
☀️ Step 3: Transplant and Provide Care for the Seedling
Once the seedling reaches 4-6 inches tall with 3-4 true leaves, transplant it into a 6-inch pot with fresh potting mix. Handle the roots gently to avoid damage—Japanese plum seedlings are delicate in their early stages. Place the pot in a spot with full sun (6+ hours daily) and gradually acclimate it to outdoor conditions over 2 weeks if growing outdoors.
Fertilize lightly with a balanced, water-soluble fertilizer (10-10-10) every 4-6 weeks during the growing season. Avoid over-fertilizing—young seedlings are sensitive to excess nutrients. Prune any leggy growth to encourage bushier development, and watch for pests like aphids, which can stress young trees.
🪴 Step 4: Transition to a Permanent Location
After 1-2 years, when the seedling is 3-4 feet tall, transplant it into its permanent location. Choose a spot with full sun and well-draining soil—Japanese plums thrive in slightly acidic to neutral soil (pH 6.0-7.0). Dig a hole twice as wide as the root ball but no deeper to avoid burying the trunk.
Water deeply after planting to settle the soil, then mulch around the base with 2-3 inches of organic mulch (like wood chips) to retain moisture and regulate soil temperature. In the first year, protect the tree from harsh winds and extreme temperatures, as its roots are still establishing. Regular pruning in late winter or early spring will shape the tree and encourage strong growth.
⏰ Step 5: Nurture for Blossoms and Fruit
Japanese plum trees grown from seed may take 3-5 years to bloom, but consistent care speeds up the process. In early spring, apply a slow-release fertilizer to support flowering. Thin out excess branches to improve airflow and reduce disease risk. Watch for signs of stress—yellowing leaves may indicate overwatering, while crispy edges suggest underwatering.
Once the tree blossoms, enjoy the purple flowers and, if pollinated, the sweet fruit. Keep a watchful eye for pests like scale insects or fungal diseases, treating them promptly with organic sprays if needed. With time, your seedling will mature into a stunning ornamental tree with edible rewards.
Tips & tricks for growing a Japanese plum tree from seed
Here's what I learned after nurturing my own plum tree from seed—these tricks will help you avoid common pitfalls and give your tree the best start possible.
Seed Preparation: Don't skip the 24-hour drying period after rinsing the seed—this is non-negotiable for preventing mold. I learned this the hard way when my first attempt developed fuzzy white growth. Also, use a paper towel that's only damp, not soaking wet. Too much moisture creates anaerobic conditions that can rot the seed before stratification even begins.
Stratification Strategy: The 8-12 week cold treatment at 35-40°F is where the magic happens, but consistency is key. Place your sealed bag in the crisper drawer of your refrigerator where temps stay most stable. I mark my calendar with the start date and set reminders to check moisture weekly. If you forget, the seed can dry out completely and fail to sprout.
Germination Watch: When you see the first signs of germination (usually a tiny white root breaking through), that's your cue to plant immediately. I've seen seeds sprout right in the bag—don't wait! Transfer to your nursery pot within 24 hours of sprouting to prevent the delicate root from drying out. The 4-12 week germination range is wide because some seeds are more dormant than others.
Transplanting Technique: When your seedling reaches 4-6 inches with 3-4 true leaves, handle those roots like they're made of glass—they're extremely fragile. I use a small trowel to gently loosen the soil around the edges before transferring to the new pot. After transplanting, give it a week of extra care with daily misting to help it recover from the shock.
Pro Tips for Japanese Plum Tree From Seed
- Here's what I learned after nurturing my own plum tree from seed—these tricks will help you avoid common pitfalls and...
- Seed Preparation: Don't skip the 24-hour drying period after rinsing the seed—this is non-negotiable for preventing m...
- Stratification Strategy: The 8-12 week cold treatment at 35-40°F is where the magic happens, but consistency is key. ...
Frequently asked questions
Got questions about growing a Japanese plum tree from seed?
You’re not alone! Here are the most common queries—plus straightforward answers to help you avoid pitfalls and celebrate small wins along the way.
How long does it take for a Japanese plum tree grown from seed to bear fruit?
A Japanese plum tree from seed can take 5–10 years to bear fruit, depending on the variety and growing conditions. The first blooms may appear in 3–5 years, but patience is key—seed-grown trees often take longer than grafted ones. Choose a reliable variety like Ume 'Beni Shogatsu' for faster rewards!
Can I speed up germination? What’s the fastest method?
Yes! Soak seeds in warm water for 24 hours, then plant them in a moist, well-draining mix (like perlite + peat). Place the pot in a warm (70–80°F) spot under grow lights for 4–6 weeks. Stratification (cooling seeds for 30–60 days) can also help break dormancy. Pro tip: Keep humidity high with a plastic wrap cover!
What’s the best climate for growing a Japanese plum tree from seed?
Japanese plums thrive in USDA Zones 6–9, where winters dip to 0–10°F but aren’t extreme. They need full sun (6+ hours daily) and well-draining soil. Avoid soggy roots—amend clay soil with compost. Cold snaps? Young trees may need winter protection (burlap wraps) until established.
Will my seed-grown plum tree look like the parent?
Probably not! Seed-grown trees are unpredictable—they may produce smaller fruit, different colors, or even thorns. For consistent results, graft a known variety onto your seedling later. If you love the wildcard factor, embrace the adventure—unique plums are part of the fun!
Why isn’t my seed sprouting? Troubleshooting tips.
Check these fixes:
Too cold? Move to a warmer spot (70°F+).
Old seeds? Freshness drops after 1 year. Try a new batch!
Wrapping up and next steps
Growing a Japanese plum tree from seed is a rewarding journey that blends patience with the joy of nurturing life! 🌱 While it may take years to see those stunning purple blossoms, every step—from seed selection to winter care—builds your gardening skills and deepens your connection to nature.
Once your tree is established, you’ll not only enjoy its beauty but also the delicious fruit (if you’re lucky enough for it to bear!). Ready to take the next step? Start small: gather seeds from a trusted source, prepare your growing space, and dive in with confidence.
Whether you’re a beginner or a seasoned gardener, this project is a testament to the magic of slow, intentional growth. Happy planting! 🌸